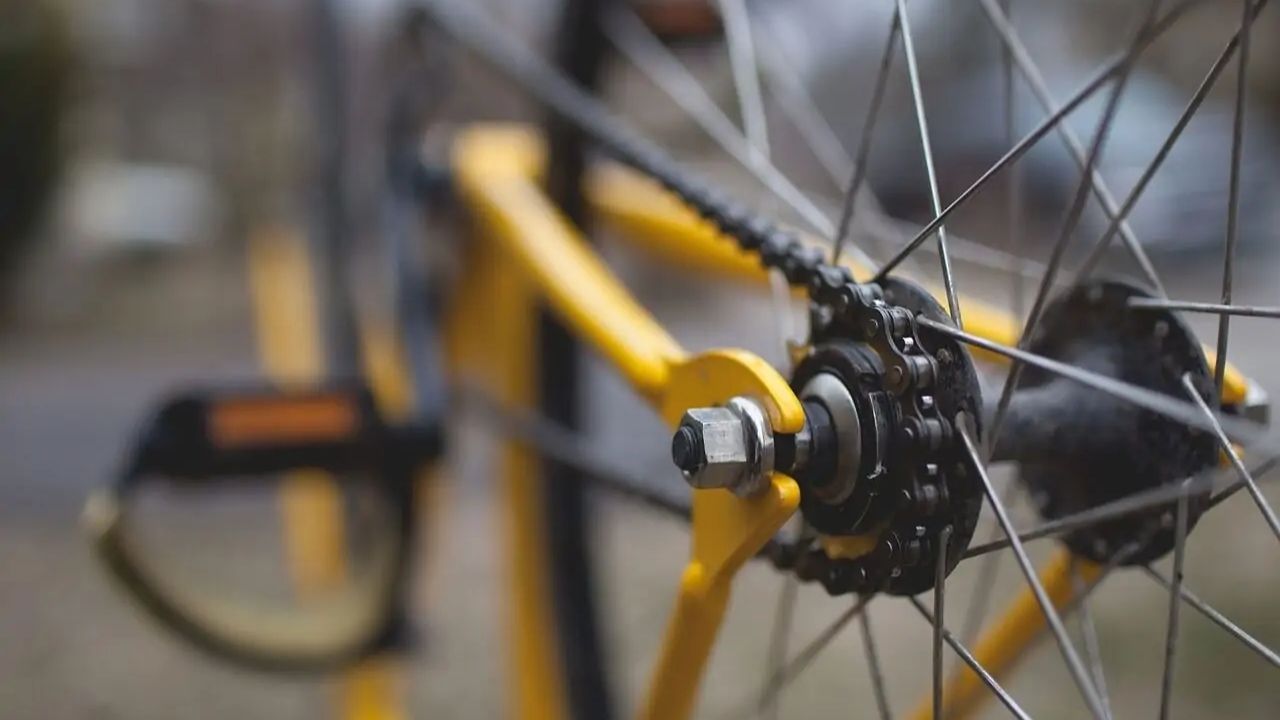
The bicycle chains are the literal lifelines of your entire biking mechanism. Even the smallest chain-related problem can increase the chances of an accident.
We have already discussed what to do with a loose bike chain and fixing your bike breaks when they’re working incorrectly. Now, it’s time to discuss how to tackle the bike-destroyer: a rusty bike chain.
Okay. That may have been a bit dramatic, but it’s true nonetheless. Rust is bad. It not only destroys your bicycle chain but can damage the bike itself. Sure, it’s not an immediate problem, but it’ll get worse the longer you wait. Rust can damage rather expensive bike parts if not taken care of swiftly.
It’ll also cause physical damage to you by making you work harder unnecessarily, and to the bike itself if the chain snaps mid-ride. The slight caveat is that rust is so common and inevitable that we have several ways to tackle the issue without having to go to a bike shop. Let’s begin.
Page Contents
How to check your bike chain for rust?
As I said, rust is not an immediate killer.
Inspection is the first step to tackling rust. Check the affected areas and extent of rust-based damage to determining whether to let it be, start the rust removal, or replace the chain. Because rusty frames are not hazardous, rust on moving parts (derailleurs, chain, brakes) is.
Follow these steps to inspect a rusty bike chain:
Step 1: Setting up the Bike
You’ll need to turn your bike upside down to inspect for the rust. Even if you do have a bike stand, it’ll probably be a bit unstable because of the distorted center of gravity, so just turn your bike upside-down and hang it off a bike rack.
If you don’t have a bike rack, you can easily make a DIY edition yourself. Just make sure that your bike latches on to it without aggressive push and is stable.
You may also wanna use old cloth to cover the bike and especially the seat (if it’s touching the ground). This is done to ensure that no damage will be done to the bike seat or its paint job while rust removal.
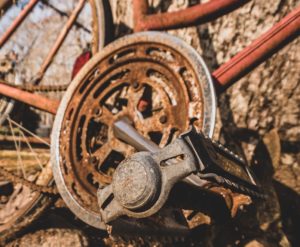
Step 2: Check for The Signs and Extent of Rust
Once you look closely at the exposed bike chain, you’ll notice one of the two scenarios:
- Scenario 1: There are some imperfections or distortions in the metal, such as warping or twisting. The bike chain will have lost its original color because of exposure to the elements outside.
- Scenario 2: The original color has started to fade, and there’s crusty rusted build-up onto the chain surface.
If you’re not sure what you’re doing, here’s a pro tip. First, you need to find out the original length of your bike chain. Next, measure the length of the current chain. Bike chains get longer when they become rusty and from wear & tear. This is because rivets and rollers get stretched easily over time from deterioration and exposure to nature’s elements.
This is also the reason that leads to scenario 1 – as the rusted chain stretches, it deforms into the shape of the gears.
Let’s continue with scenario #2 now.
Step 3: Find Master Link (If Your Bike Has One)
If you have a modern bike, chances are that it has a master chain link. It’s just a unique chain-locking mechanism that makes the entire thing easier to remove. It’s very easy to locate, so there’s a good chance your bike doesn’t have one if you can’t find it on your first try.
You can check the manual to see if your bike has a master link, and then look for the chain link with a pin-slot connection that further connects to the chain links. Remove the pin, and voila!
Pro Tip: You can get a master link installed on old bike chains these days for as cheap as $12-$15. Bike chains are prone to breaking when being worked on, so I recommend adding one.
Step 4: Make Notes (Optional, But Highly Recommended)
Reassembling your bike chain into the drivetrain in appropriate positions is even more important than removing rust. So, if you’re not used to removing and reassembling a bike chain on a single gear bike, I recommend making a few notes or taking some pictures.
You should know the chain angles and gears and sprockets placements before completely removing the chain.
And there’s no option if it’s a multi-gear bike (one with a derailleur). Even a simple reassembly mistake can cause serious damage to costly parts and get you injured. Now that I have warned you, let’s remove the rust.
How to remove rust from the bike chain?
Step 1: Remove the Chain
Remove the chain as explained earlier if it has heavy surface rust and grime. Use the master link or remove it directly from the drivetrain.
Step 2: Use a Degreaser
A degreaser is used to remove the dust, gunk, and grime along with the surface-level rust from your bike chain. Soak up a clean rag with a lime juice or citrus degreaser and use it to rinse the chain clean. Use some force if the surface rust doesn’t come off easily.
If the grime and rust build-up is severe, then soak the chain in a small bucket full of lime juice or citric acid degreaser directly for about 20-25 minutes. Then take it out and wash the chain clean with hot water.
Purchase Recommendation: I personally use Finish Line’s Citrus Degreaser. It’s safe and biodegradable, and works fast. I recommend buying the 20oz pour can out of the three variants.
Warning: Use protective latex hand gloves regardless of whether you’re using biodegradable and natural cleaners or non-biodegradable chemical cleaners.
Step 3: The Citrus Cleansing
You might not even need this step if you’re using a citrus degreaser. Still, sometimes a light layer of surface rust can’t be removed without manual labor. Soak up steel wool or an old toothbrush in lime juice and use it to scrub off the surface-level rust.
If there were multiple light layers of rust, they might stick to the steel wool (or toothbrush), clean them with hot water, and re-soak them into lime juice or another type of organic citric acid. Repeat the scrubbing until the surface is clean.
Step 4: Cleaning the Surface
Use a paper towel to clean the surface and then rinse the chain with hot water to remove the lime juice on the bike chain. Add a little dish soap and clean it properly to prevent corrosion.
Step 5: Reassembly
Put the chain back into the bike and re-lock the master link by putting the pin back in its place after pushing the two ends together. If there’s no master link, the chain should be re-inserted into the drivetrain in reverse.
Step 6: Manual Checking & Lubrication
Finally, use a lube (or bike lubricant) to lubricate the chain while manually pedaling the bike for smooth motion and preventing rust. Let it sit for a dozen or so seconds, and then use the same rag to clean extra lube off the chain, or it’ll attract dust.
I recommend using a Teflon-based solution to lube the chain, like Finish Line’s Dry Lubricant, because they prevent further rusting, and dust doesn’t stick to them.
Read More: Quick & Easy Guide to Adjusting Bike Brakes the Right Way
Can you remove the rust without removing the chain?
Technically, yes.
You can remove rust from the bike without removing the chain itself, but only if it’s 100% surface-level rust. The thin crusty layer of rust and dirt that forms above the bike chain’s material can be cleaned off with a chemical cleaner and then lubricated.
But you’ll need to remove the chain if it’s any more than “just a thin layer.”
Step 1: Clean the Chain with Degreaser
You need a citrus degreaser (preferably biodegradable for environmental reasons) to help loosen up the dirty and sticky layer of grease off of the chain. Use the same one we used in the previous section.
Manually pedal the bike while you spray the degreaser between the links so that it spreads throughout the chain. After 2-3 rotations, stop spraying the greaser and pedal a couple times more.
Next, hold a rag gently over the open part of the chain and pedal slowly to clean off the layer of chain rust, old grease, and grime. Don’t do it aggressively.

Warning: Use protective latex hand gloves regardless of whether you’re using biodegradable and natural cleaners or non-biodegradable chemical cleaners.
Step 2: Put a Chain Lube (Preferably Dry)
The lubrication process is precisely the same as in the last section. Put some lube slowly while pedaling, and then clean the extra using a rag.
Popular Rust Removers
1. Do vinegar and baking soda remove rust from the bike chain?
Ideally, you can use home remedies, such as vinegar or a combination of baking soda and water to remove rust from your bike chain. But only if it’s the thin surface level rust with negligible damage to the chain material.
They may not be as perfect as the biodegradable citrus cleaner I mentioned earlier. Still, I’d prefer home remedies over non-biodegradable chemical cleaner for minor rust any time of the day. Here’s how they’re used:
- Baking Soda and Water: Make a paste with an equal amount of baking soda & water and a few drops of lemon juice. Apply the paste directly onto the bike chain and let it settle for about 10-15 minutes. Scrub the paste (along with the rust) using an old toothbrush and repeat the process if some crusty layers are still left.
- Vinegar: Take a spray bottle full of vinegar and add a spoonful of baking soda to it. Spray the vinegar on the bike chain like we applied the citrus degreaser earlier and let it soak for 15 minutes. Use a garden hose to rinse off the vinegar thoroughly (very important), and then an old toothbrush to scrape off bigger chunks.
The final step for both methods is the same, simply apply the lube.
The baking soda method is technically not harmful. You can try it once or twice, but I recommend using a proper cleaner if the rust is still left after two iterations. My issue with the vinegar method is that vinegar will corrode the bike parts if it’s not rinsed off properly, so I avoid using it altogether.
2. Does WD-40 remove rust? Is it a good rust remover?
I’m often asked by newbie bikers if WD-40 solution is a good rust remover or not, and even though it’s an incorrect question, here’s the answer.
WD-40 Specialist Rust Remover is currently the best rust remover on the market. The US-based company’s WD-40 Specialist lineup is the industry standard for bike maintenance. It includes rust removers, cleansers and degreasers, lubricants, and corrosion inhibitors.
Specialist Rust Remover is skin-friendly and eco-friendly. It works perfectly on both steel and aluminum and produces non-toxic, acid-free fumes. And the best part is that it restores surfaces to bare metal to keep your bike rust free.
You buy it on Amazon or check out their WD40 specialist.
Why do the bike chains get rusty?
Moisture on the bike chain (or other metal parts of the bike) causes rust. It happens due to a chemical process called oxidation. When moisture is placed over metal surfaces for an extended period, they react to form another layer on the surface, called metal oxide or rust.

1. When to buy a new chain, and how much do they cost?
You should buy a new bike chain when it looks deformed with warping and severe wear & tear on chain links upon direct manual inspection. A quality bike chain will cost you about $100 – $120 with an extra $10 – $15 if you want it professionally replaced.
Read More: 5 Best Recumbent Road Bike Options in 2021 (and how to choose)
2. How to prevent rust? – Lubrication & Proper Maintenance
Removing rust from the chain will only solve half of your issues. The second half is the prevention of further rust (oxidation). Some metals succumb to rust sooner than others, the best way to prevent oxidation is to keep the bike chain dry, well-lubricated, and properly maintained.
Maintenance (cleaning and lubrication) should be done every week for regular cyclists or at least after every 200 miles for non-frequent bikers. Regular and correct maintenance will prevent rust and corrosion on the bike chain, frame, derailleur, and other critical moving parts.
And since you’re regularly interacting with the parts, you’ll notice broken chain links much sooner. Replacing bad links immediately will prevent further destruction of moving parts.
So, what do I mean by proper maintenance? Well, you already know it. Section 3 of the blog, “Removing Minor Rust Without Chain Removal,” is the correct way to maintain bikes every week. Clean the previous grease with lime juice, put on fresh chain lube, and you’ll have a rust free bike chain for a long time.
In conclusion, always keep in mind that there’s no one absolute answer when it comes to rusty bicycle chains. Follow the steps about removing rust and general bike maintenance that I explained and take an informed decision on whether to remove the chain rust or get a new chain altogether. Happy biking!
Purchase Recommendations for Proper Cleaning
Degreaser: Finish Line’s Citrus Degreaser
Chain Lubes:
Editor’s Choice: Finish Line Dry Bike Lubricant with Teflon
WD-40 Specialist Non-Drip Gel Lube
Rust Remover: WD-40 Specialist Rust Remover Soak
Corrosion Inhibitor: WD-40 Specialist Long-Term Corrosion Inhibitor