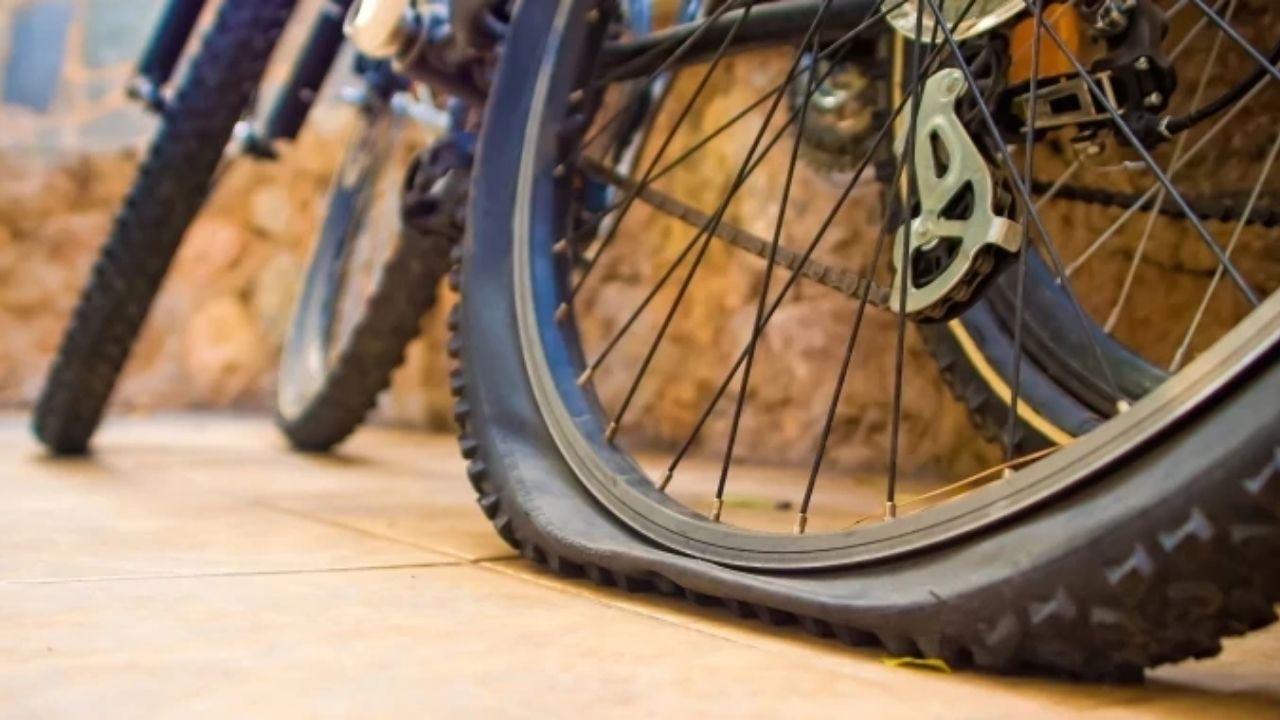
As a cyclist, glass shards and other sharp objects on the road can be your worst enemy. Avoiding these objects can be difficult, however, especially if you ride on high-speed trails or if visibility is poor. The good news is that a tire puncture is relatively easy to repair, even if you are in the middle of nowhere.
Page Contents
What You Need to Repair a Puncture
Because a puncture can happen at any time, you should carry the things you need with you when riding a trail. To repair a bike puncture, you will need:
- Three tire levers
- A puncture repair kit or spare tube
- A reliable pump that is compatible with your valve
A complete puncture repair kit consists of a marker, sandpaper, rubber solution, and patches. With these tools and accessories, you can either repair the puncture or change the tube.
Option 1: Repair the Puncture
With a puncture repair, you don’t have to remove the wheel, but feel free to do so if you want to avoid scratching your handlebar and shifting levels. Otherwise, turn the bike upside down, so it rests on the saddle and handlebar.
First, make sure that all the air is out of the tire. Then, take a tire lever from your kit, hook it under the beading on one side of the tire, and push down until the tire edge pops out over the rim.
Then, take the second tire lever and repeat the process about six inches away from the first lever. Slide the second lever along the rim of the wheel until the edge of the tire is outside the rim. If the lever gets stuck between the tire edge and the rim, repeat the process with a third tire lever.
When one side of the tire is out of the rim, take out the inner tube, but leave the valve in its hole in the wheel wall. Then, carefully inspect the tube surface until you find the puncture. If you can’t see the hole, pump air into the tube and listen for the sound of escaping air. If you have access to a bucket and water, submerge the tube and look for bubbles.
When you find the hole, mark its location with chalk. Then, rub the area with sandpaper to provide a better grip for the rubber solution and patch.
Apply the rubber solution to the hole and let it dry for a minute. Then, remove the foil from the patch to expose the application side, put the patch over the puncture, and hold it in place for at least one minute.
Pump some air into the tube to ensure that no air escapes from under the patch. Then, push the tube back into the tire and tuck the tire edge inside the rim using the tire levers.
Check the outer surface of the tire to remove the object that caused the puncture. If the sharp object is still lodged inside your tire, you will have another hole in a matter of minutes. Inflate the tire fully and inspect the wheel to ensure that the repair was successful.
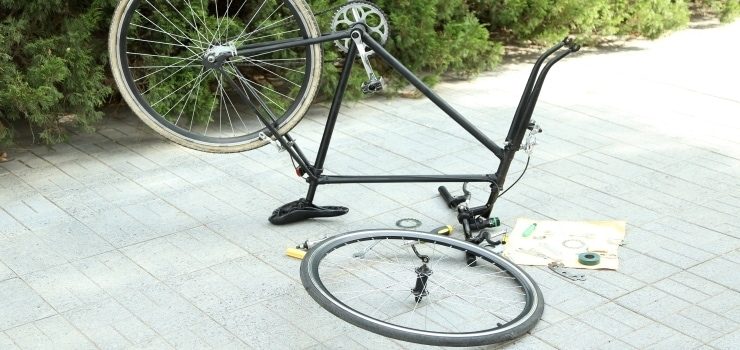
Option 2: Replace the Tube
If you have a spare tube, you can replace the damaged tube instead of repairing it. With a tube replacement, you have to remove the wheel from the bike and follow the same process as above to remove the inner tube. Remove the tube entirely from the wheel and take the valve out of its hole in the rim.
Check the tire for the object that caused the puncture and remove it. Then, take the new tube from your kit, attach the pump, and inflate it a bit to make insertion easier. Locate the valve hole in the rim and insert the valve before inserting the tube around the rim and under the tire.
Finish the tube replacement by tucking the bead of the tire over the tube and inside the rim edge. If you find it difficult to seat the tire on the rim, use the tire levers, but make sure that you don’t pinch the tube. You should also ensure that the tube doesn’t protrude from underneath the rim of the tire.
After replacing the tube and seating the tire, you can fully inflate the wheel, attach it to your bike, and continue riding.