Loose bike chains cause many bikers’ dilemma more often than not – should you stop immediately and tighten it? Should you take it to a bike shop? Can you go on a little further and fix it at a proper place?
There are multiple options and, honestly, no absolute answer because it’s almost always circumstantial. Bike chains can get loose for a number of reasons, and they can potentially cause accidents, especially in multi-gear bikes.
If the chain is loose in such a blatant manner that it might get tangled in your foot, then you need to stop immediately and check if any part is broken. You don’t need to immediately go to a bike shop if all the parts are fine. And finally, you can go a little farther if the chain is only slightly not tight enough but only with single gear bikes.
Let’s discuss all this in detail.
Page Contents
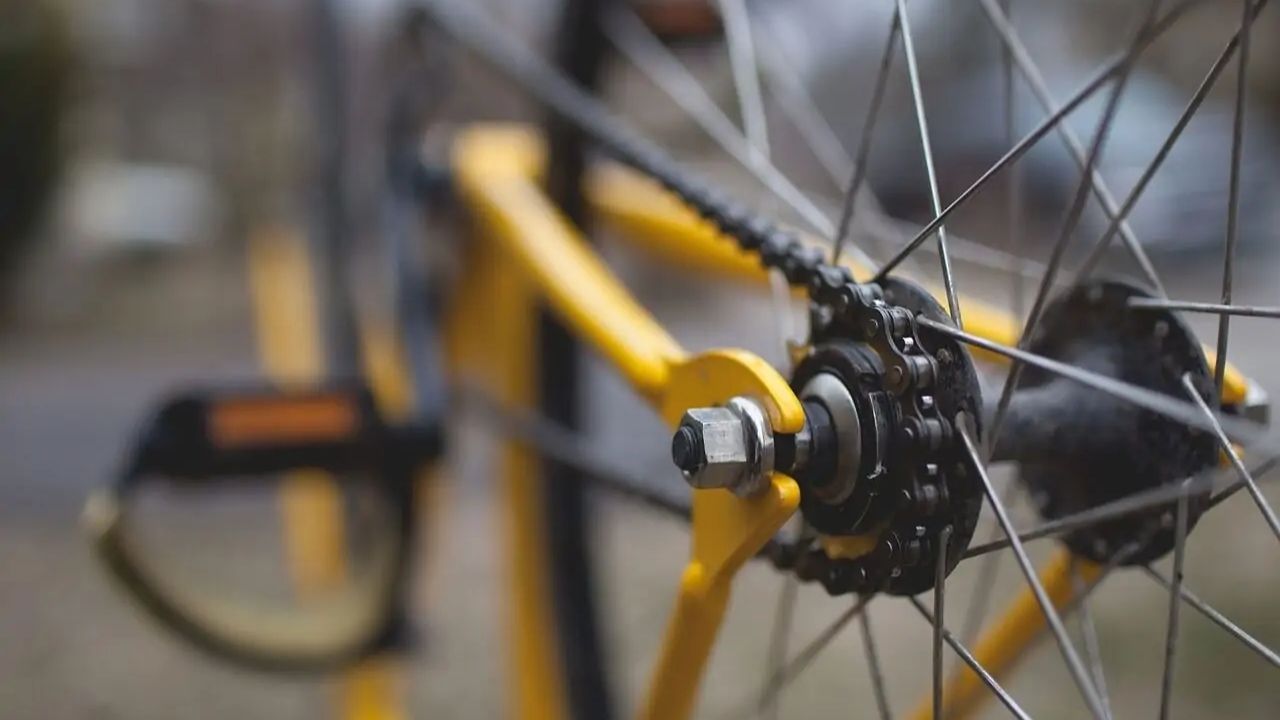
How to tighten a bike chain with a single gear / fixie?
Firstly, I’m gonna assume that your bike’s current issue is a loose chain and nothing else – the axles and the chain are fine. If you’re not familiar with the bike types and wondering what the difference between a single gear and a fixie bike is, there is none. A fixie is more of a techno-marketing term.
A single gear or single speed bike only has one gear, so instead of a freewheel mechanism on the rear wheel, it has a cog. When you pedal, you turn the cog and thus the wheel – this is called a fixie.
Fixie bikes are suitable for non-competitive cycling when your primary purpose is to work out. Here are the tools that you’ll need to tighten a single gear bike’s chain:
- a socket wrench or an adjustable bike wrench
- dry bike lubricant
- cloth to clean the chain
- a pair of gloves
- a bike stand, if you have one, or a surface to stand your bike on upside-down
- a hex key (if your bike has a gear changer or an internal hub)
Step 1: Setting up the Bike
Once you get used to the process, you can tighten your bike chain while the bike is in the right-side-up position.
But for now, turn your bike upside-down (wheels in the air) and put it on the bike stand (with the saddle connected to the stand). It’ll enhance your accessibility to the bike parts without using extra force.
If you don’t have a bike stand, just put your bike on a proper and smooth surface so that it’s stable upside-down and you don’t damage the saddle.
Step 2: The Manual Test
Before you go full-blown mechanic and open things up, cross off other common issues from your list. Pedal the bike manually and notice the rear wheel – check if there’s any damage to the chain links or the chain itself. Or if the chain is too greasy or too dry (more resistance).
In either of those cases, de-grease the chain and apply a fresh coat of lubricant. Apply lube in small amounts to chain links while pedaling manually to ensure it’s evenly distributed. Finally, clean off excess grease from the chain links and move on to tightening the chain.
Read More: Are Road Bikes Safe to Ride in the Rain?
Step 3: Time to Open Up
Next, you’ll need to remove the bolts on the rear wheel’s axle to put it into its cradle. Use a socket wrench for this and turn anti-clockwise to loosen the rear axle.
If your bike has an internal hub, you’ll need a hex screwdriver (or hex key) to first remove the gear-shift mechanism from the rear wheel. You’ll be able to access the axle bolt after that.
Step 4: Tighten the Chain
It’s time to tighten the chain or “increase the chain tension to the desired level.” Now, pull back on the rear tire to increase the tension and stop when it’s enough. Do it calmly and very slowly, or you could potentially break the chain.
Keep the tire centered around the wishbone so that the things stay in place. The idea is to tighten the chain until it can’t be moved more than 0.5 inches manually in either direction.
Step 5: Test the Chain Tension
Now, for the moment of truth – the chain tension could potentially get messed up while you’re putting the wheel back in its place, so keep checking as you go.
The good thing is that it’s easily noticeable. If the chain becomes too tight in the process, you won’t be able to pedal. And if it moves a bit too far in either direction, it’ll loosen up again, so the tire will need to be pulled back slightly more to re-tighten the chain.
The process is easier if you have a companion holding the tire in place, but it’s not impossible to do it solo.
Step 6: Time to Close the Rear Axle
Once you get the desired tension, put the tire back in its place and tighten the nuts and bolts using the socket wrench you used earlier.
Ensure that the tire is centered in the frame – it should neither directly touch the bike frame nor the chain. The distance between the wheel and rear axles on each side should be exactly the same.
Try to wiggle the wheel manually. If it doesn’t wiggle separately, that means you have secured it correctly.
Step 7: The Final Check
For the final check, first, try and move the chain manually in both directions. You should be able to move it about half an inch on either side.
Second, pedal the wheel manually and feel the resistance. If you’re unable to pedal, the chain is too tight and vice-versa.
Repeat the process from step 3 if either of these conditions isn’t met. And don’t worry because it took me some time to get the hang of it too.
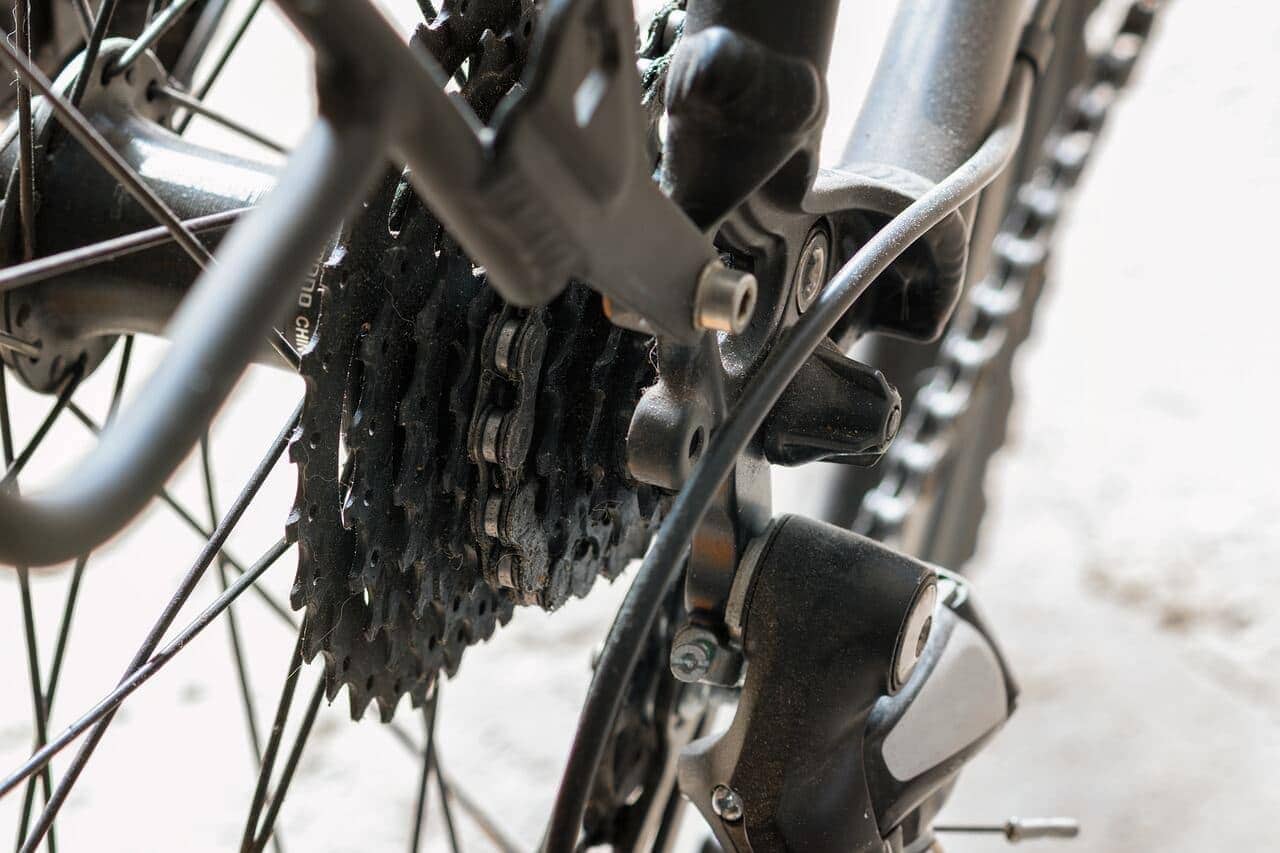
How to tighten a bike chain with a derailleur?
We’re still gonna go with the same assumption that your multi-gear bike’s only issue is a loose chain, and the other parts like the derailleur and axles are working perfectly.
A multi gear bike, or “bike with a derailleur,” uses a shift-gear mechanism to transfer the bike chain between several gears of different diameters on the rear axle.
Also, the process of fixing a chain in mountain bikes is precisely the same since they have derailleurs too.
A loose chain on such an intricate mechanism is especially dangerous because the risk of injuries is much more severe than on single-gear bikes. So, stop the bike and move to a corner as soon as you feel the chain is loose.
Here are the tools that you’ll need to tighten a multi-gear bike’s chain:
- a derailleur screw key
- dry bike lubricant
- cloth to clean the chain
- a pair of gloves
- a bike stand or a clean, smooth surface
Step 1: Setting up the Bike
Don’t fix a multi-gear bike in a right-side-up position regardless of your experience. The system is pretty intricate, to be taken lightly.
Turn your bike upside-down (wheels in the air) and put it on the bike stand (with the saddle connected to the stand). You’ll be able to adjust the derailleur easily that way.
If you don’t have a bike stand, just put your bike on a proper surface like we did with fixie bikes.
Read More: 10 Best Road Bikes Under $1000 in 2021
Step 2: Adjusting the Derailleur Screw
Keep in mind that the multi-gear bikes obviously have multiple gears. So opening the rear axle and multi-gear mechanism directly is not an option unless you’re a bike mechanic, in which case you don’t really need me or this guide. Assuming that you’re not one, we’ll need to tighten things indirectly using the “derailleur screw.”
You’ll find the screw at the back of the derailleur. Try looking for the letter “B” since the screw is generally located adjacent to it.
Use the derailleur screw key and turn it anti-clockwise to tighten the derailleur against the bike chain.
Step 3: Position the Rear Tire
First, disconnect the brake cables and pull up the brake level to free the rear tire. Once you have access to the rear tire, slide the wheel axle towards the rear dropouts to increase tension on the derailleur chain.
The process should be done slowly and calmly with multiple minor adjustments to prevent the chain from getting too tight and snapping off. You’ll need to lower the brake lever and manually check the chain tension after each adjustment.
Step 4: The Final Test
Once you’re done, re-attach the brake lever and remove the derailleur screw key. Now, you just need to manually pedal to check if things are working perfectly or not.
If there’s too much resistance while pedaling even with the correct chain tension, then the chain needs re-greasing as well. Just use the cloth to wipe off dirt and de-grease the chain. Now put a fresh coat of lubricant while pedaling so that each chain link is greased evenly.
Thankfully though, tightening the bike chain is much easier this time because it’s done via derailleur. The only caveat is that if that doesn’t help, you’ll need a mechanic to open things up.
Keep the following points in mind:
- Due to the shift-gear mechanism, the chain slipping between sprockets is very common, so don’t panic and tighten the chain slowly.
- Some bikes with “too many” gears have a double derailleur mechanism. So, check the derailleur on the front wheel and tighten that as well if your bike has one.
- Sometimes, the problem is with the derailleur spring and not the chain tension. YOu’ll have to visit a bike shop in that case.
How to tighten a bike chain on a BMX bike?
The BMX or “Bicycle Motocross” bikes are off-road sports and stunt bikes often distinguished by their knobby structure, special tires for off-road riding, and “cool” riders.
Fixing or tightening a bike chain on a BMX is the easiest of the three. Let’s begin with the same assumption that only your chain is loose, and the axles and the chain itself are fine.
Here’s what you’ll need to fix a BMX bike chain:
- a spanner
- an Allen key (for female BMX bikes)
- dry bike lubricant
- cloth to clean the chain
- a pair of gloves
- a bike stand or a clean, smooth surface
Step 1: Setting up the Bike
Turn your bike upside-down (wheels in the air) and put it on the bike stand (with the saddle connected to the stand). You’ll be able to adjust the derailleur easily that way.
If you don’t have a bike stand, just put your bike on a proper surface like we did earlier.
Step 2: Detach the Wheel
Use the spanner to loosen up the rear wheel axles on each side. If your model has a bike hub, the nut for the male BMX hubs can be opened with a spanner. But the female model will require an Allen key.
Loosen the axles and wheel enough so that it can be moved to either side freely.
Step 3: Adjust the Chain Tension
Tighten the chain tensioner (if your bike has one) on both sides equally. Alternating between each side will make it easier to determine when to stop tightening.
If your bike doesn’t have a chain tensioner, tighten the axle nut while keeping the wheel center-aligned, just like we did with single-gear bikes. You can use the spanner if you’re having difficulty manually pushing the wheel at the farthest back point while tightening the chain.
Read More: Are Mountain Bikes Good for Long Distances?
Step 4: The Final Check
Put the wheel back in its place and tighten the axle nuts equally for the final check. Manually pedal to check the resistance. If you find unusual resistance or none, even with correct tension, just de-grease the chain and put a fresh coat of lubricant.
How does a bike chain get loose, and when to replace it?
A bike chain becomes loose for any number of reasons. For fixed-gear or single-gear bikes, it’s the nuts holding the rear axles are the usual culprits. In multi-gear bikes, the gear shift can often cause issues in chain tension, as explained earlier. And finally, damage. Damage to your derailleur mechanism or wear and tear of chain links can also result in a loose chain.
So, if the mechanisms are working perfectly but the chain is still slipping, you need to check for chain damage either manually or using a Chain Wear Tool. You also need to ensure that the chain length is ideal by using the Chain Length formula.
Ideally, you need to replace your chain every 2000 miles to prevent accidents. You should also take your bike to a shop every 5-6 weeks for regular checkups, servicing, and re-lubrication (if required).
Another question that I’m often asked is “how often should I lubricate my bike chain?”
A bike chain should be lubricated and cleaned regularly (along with basic maintenance). Though you should never lubricate a dirt-filled chain or it’ll cause rust. Clean and de-grease the chain first, and then lubricate it evenly using a dry lubricant.
A bike’s chain coming off or loosening up is quite common and a likely scenario even with a brand new bike, so don’t worry and keep your calm. Now that you know everything about fixing bike chains, always do a quick chain check before going outside and keep your tools ready. Happy cycling!